Use Travis CI To Deploy Jekyll To AWS S3
Beginning
Travis CI is a very good tool to help you auto-test and auto-deploy.
You can log in Travis CI with your Github account. https://travis-ci.org/ is for public repository, https://travis-ci.com/ is for private repository. Private repository may cost you a little fee.
Setup repository
Log in with Github account, and enable the repository that has your Jekyll site inside.
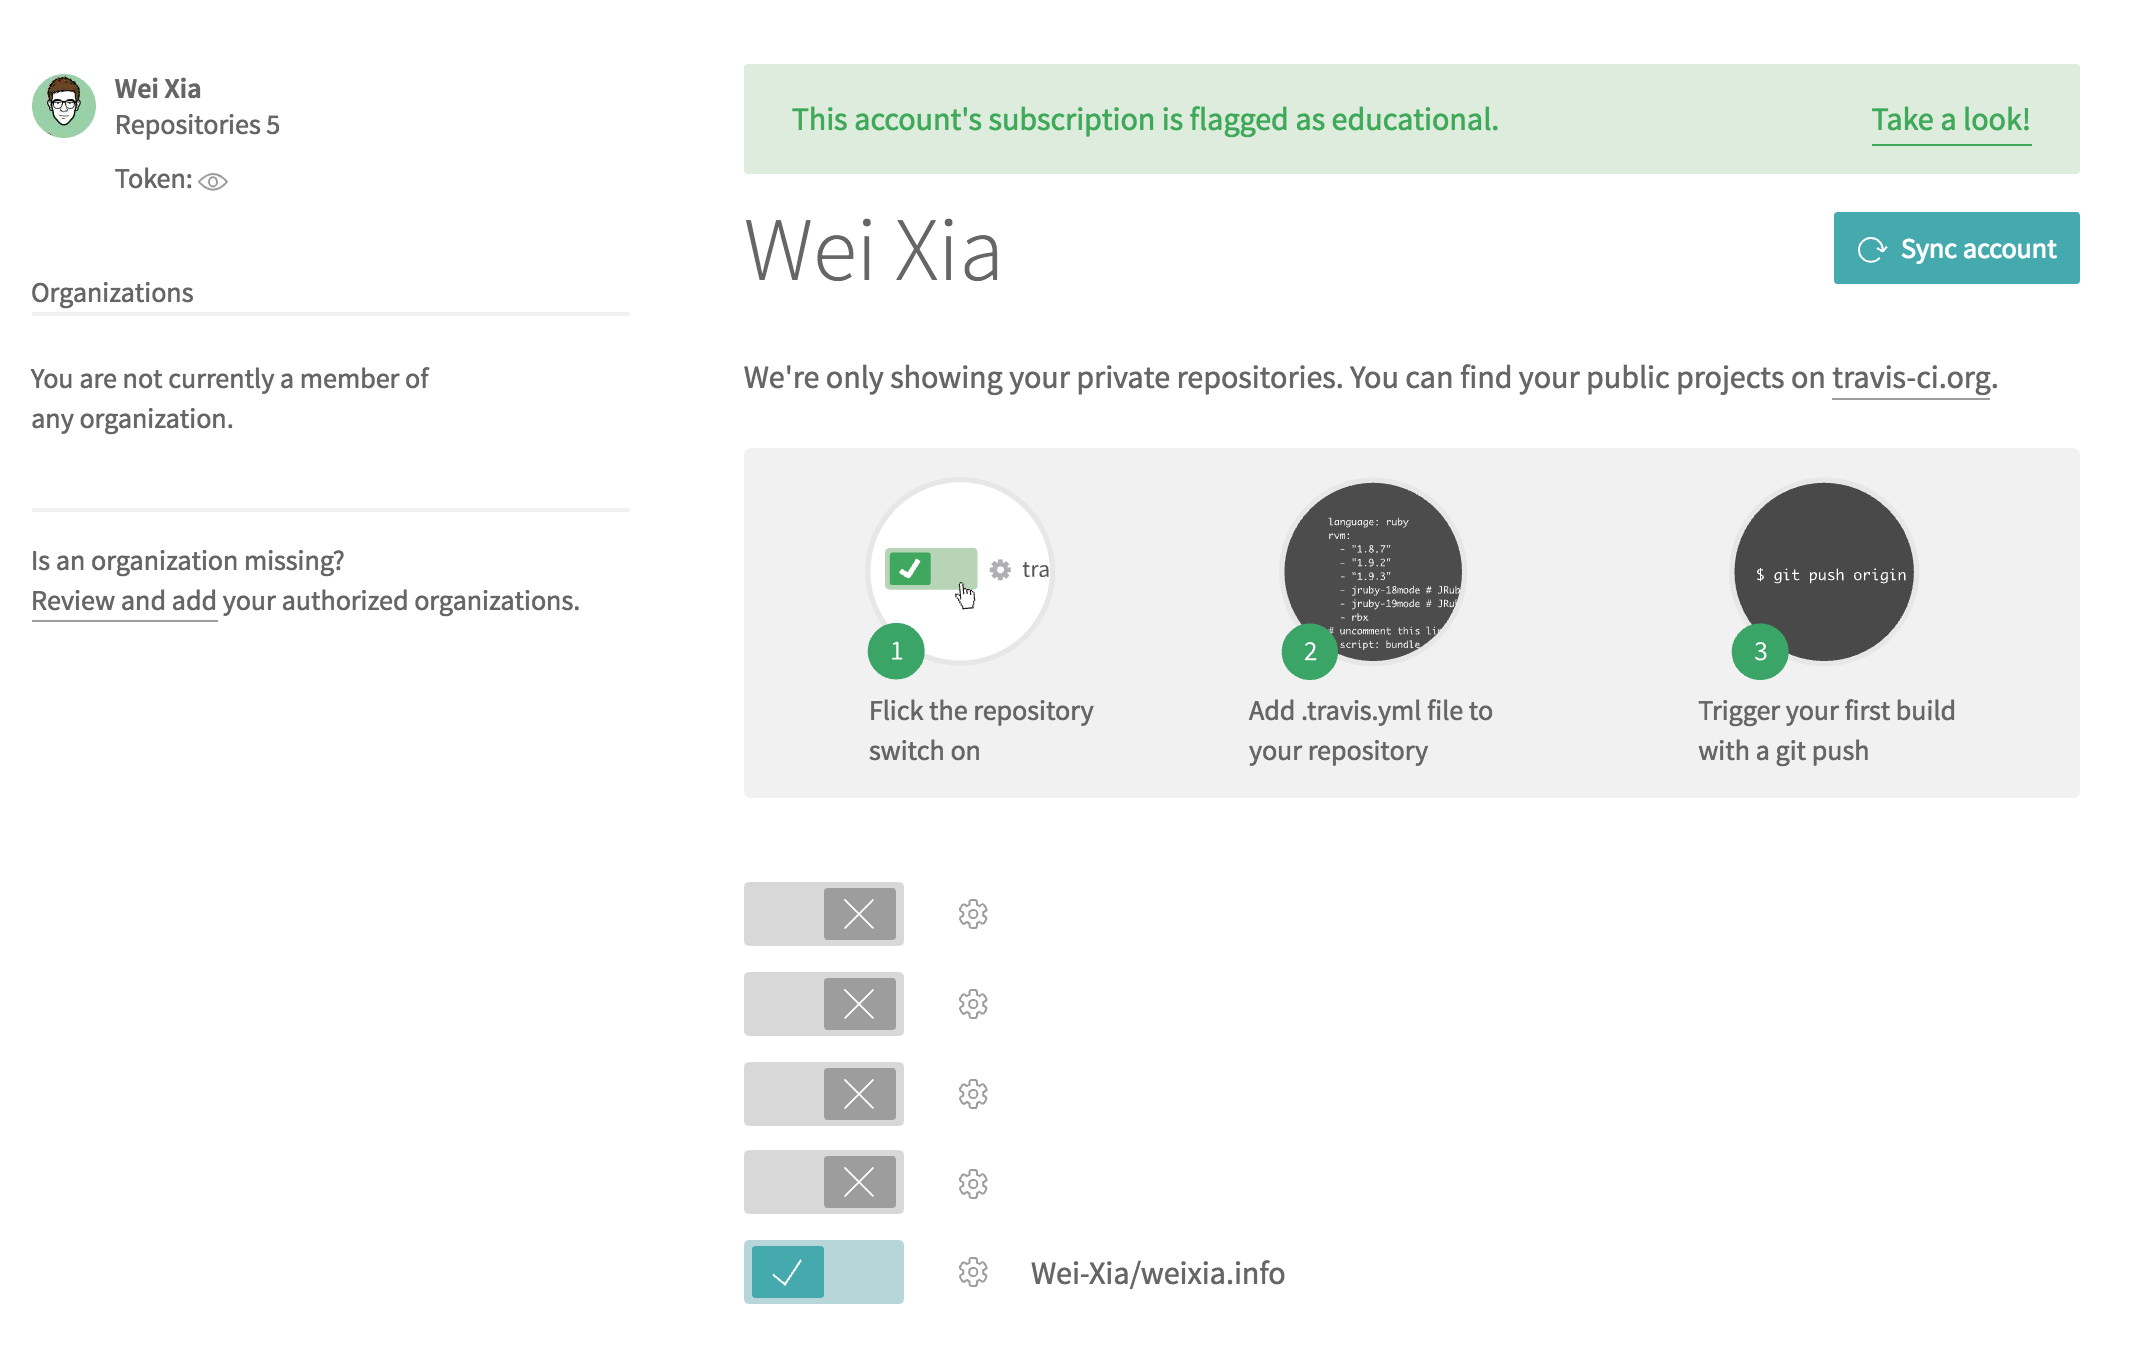
Script Settings
Travis
Travis CI needs .travis.yml in your repository root to build and deploy the websites.
Below is what I use.
1 | language: ruby |
install: gem install jekyll -v 2.4.0 && gem install s3_websiteis to installjekyllands3_website.s3_websitecan help you push files into AWS S3.script: jekyll buildis to build the site with Jekyll.after_success: s3_website pushis to copy everything you have to AWS S3.
AWS S3
s3_website needs a configuration to access your Amazon Web Service account. Simply create a s3_website.yml in repository root, and copy the code below into that file. Remember to change variables.
1 | s3_id: fdsahfkjhaskjfhdas |
Environment Variables
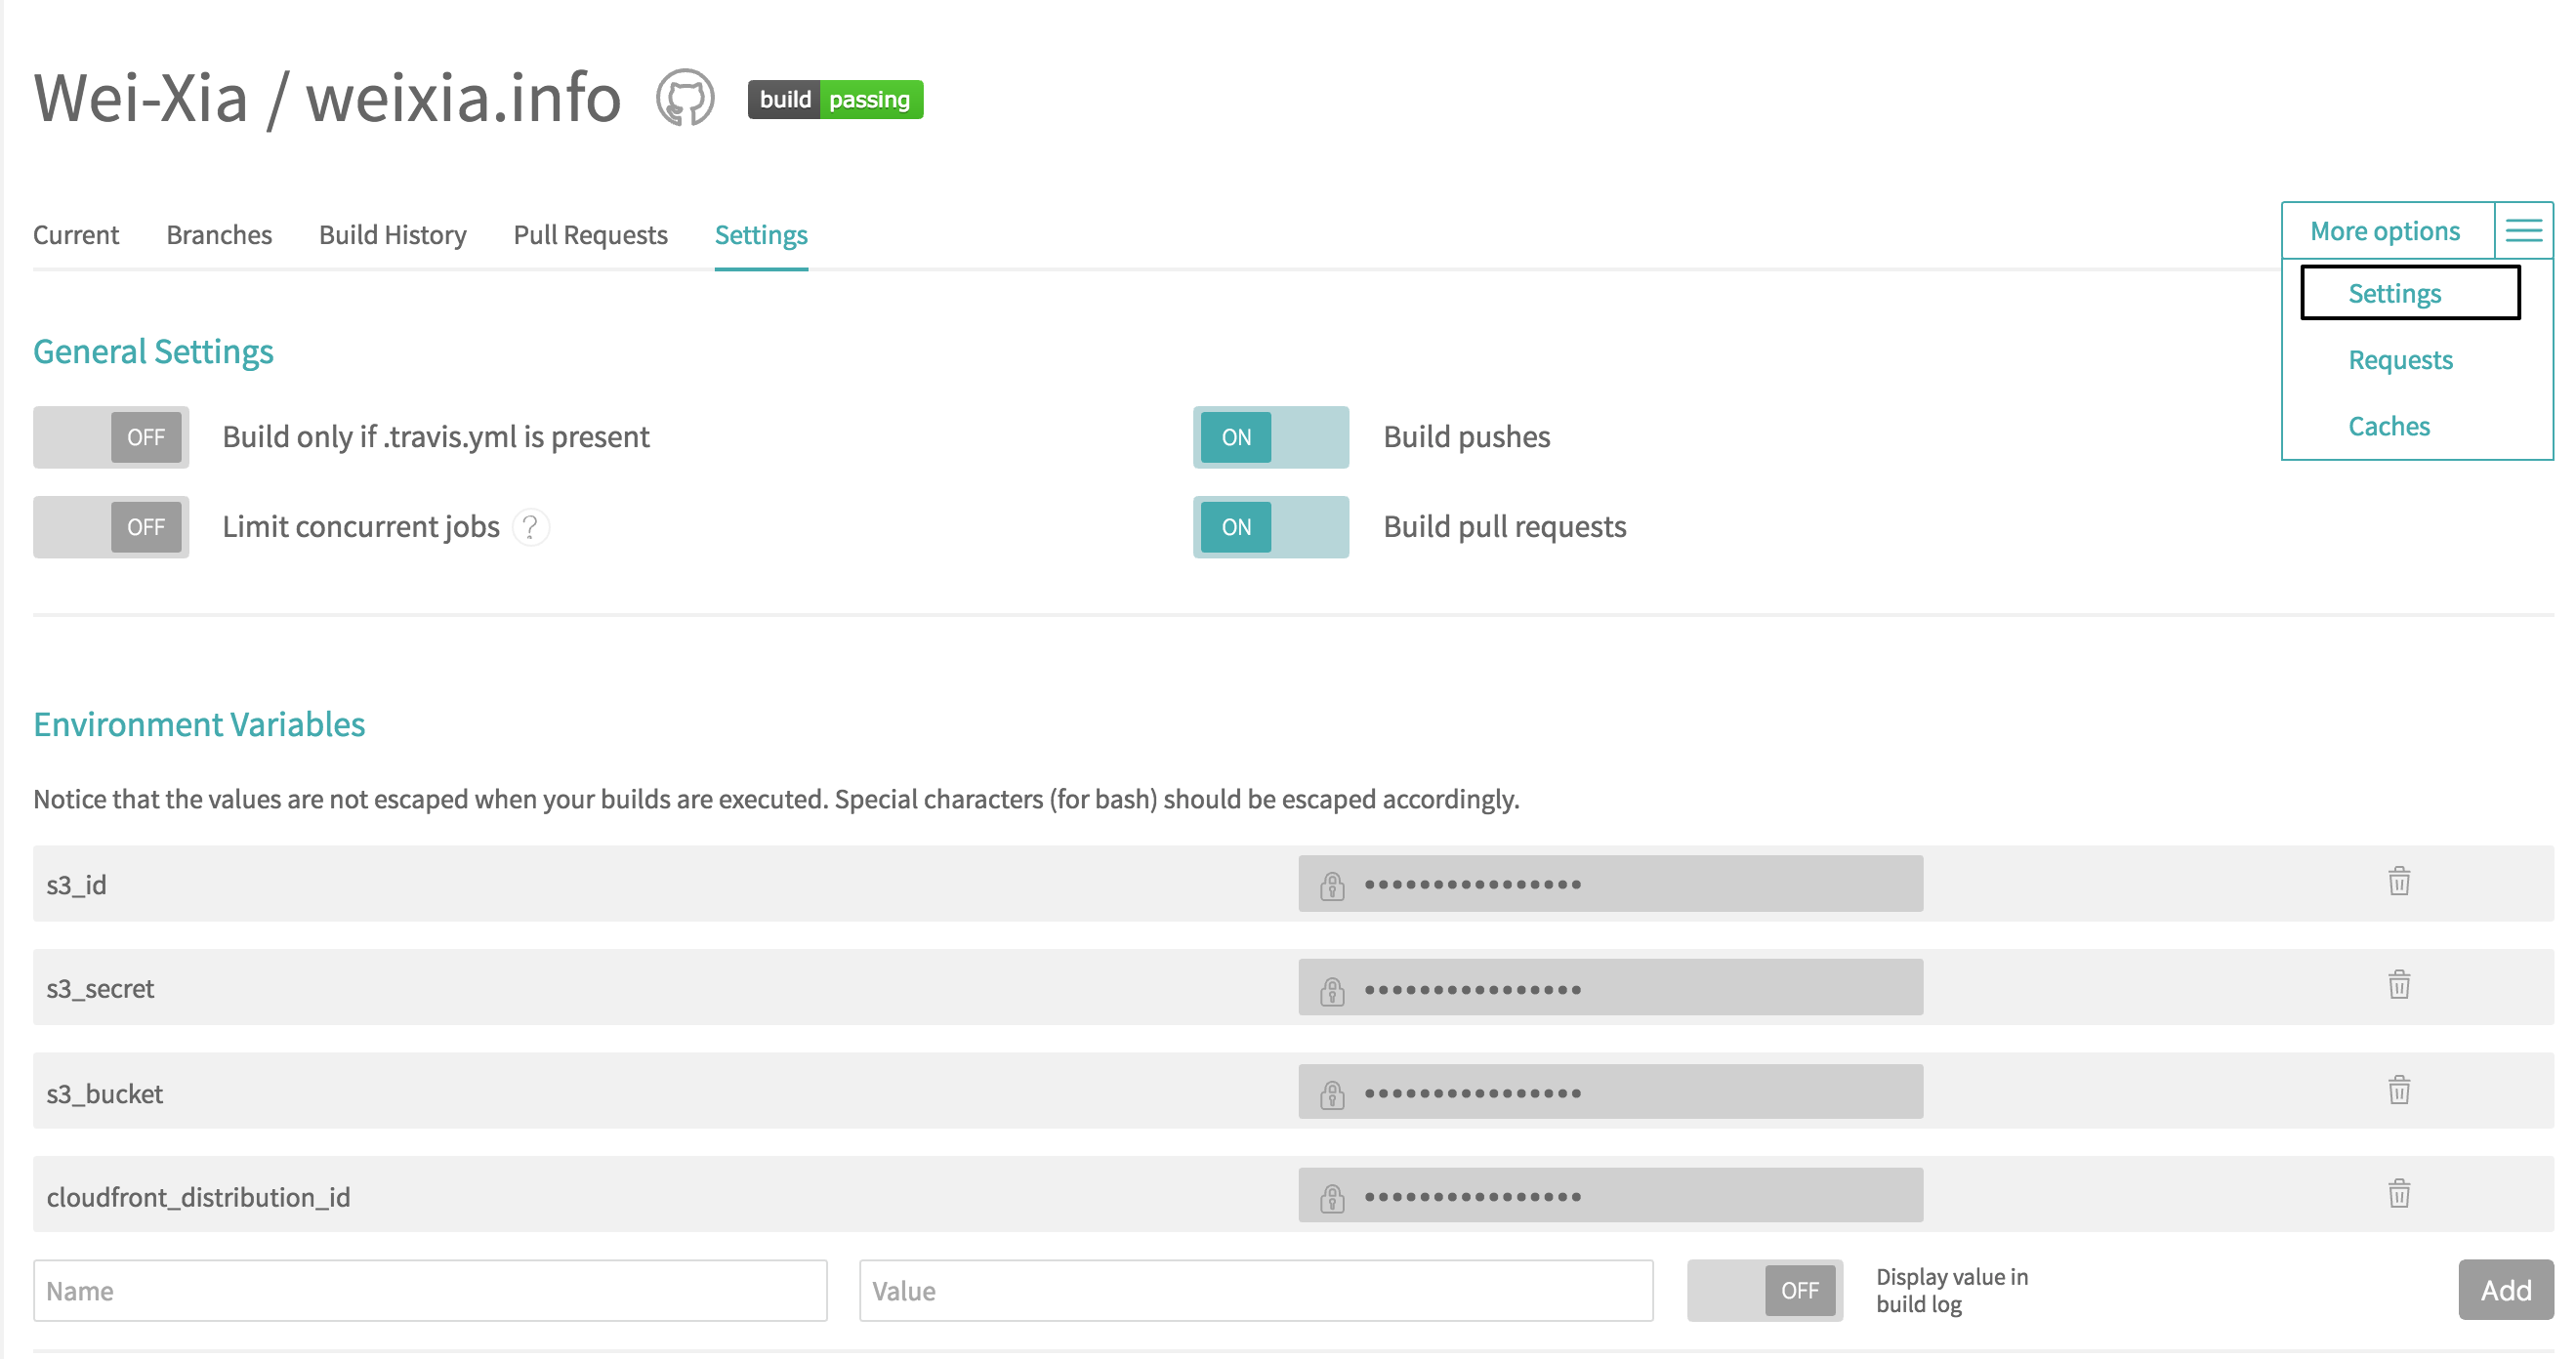
This is the final step to set up environment variables in Travis CI.
Go to your repository setting page, under Environment Variables section, add s3_id, s3_secret, s3_bucket and cloudfront_distribution_id into name along with their values.
Let it run
Every time you make any changes and commit them to Github repository, Travis CI will rebuild the sites and deploy it.
This is the end of post